- A main screen that shows our application name.
- The main screen opens like a gate to show our clock
- The clock is just going crazy! It tells the hours changing the background color all the time
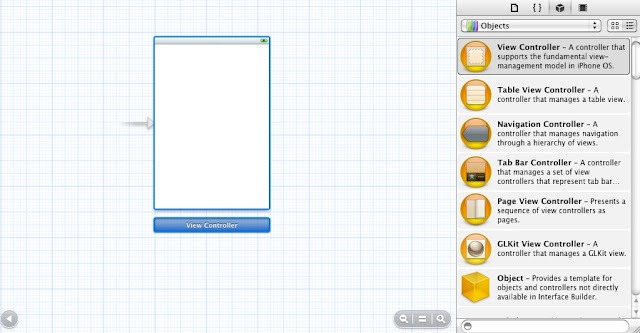
- A storyboard (they can be two if you want to do it for iPhone and iPad)
- A main view controller to show our application name
- A gate composed by two views
- A timer that executes after a determined period of time to hide our application name and open the gate
- A view to show the clock
- A timer that executes after a determined period of time to change the clock background color
- The current date
- Our motivation to add features and convert this into an amazing app!
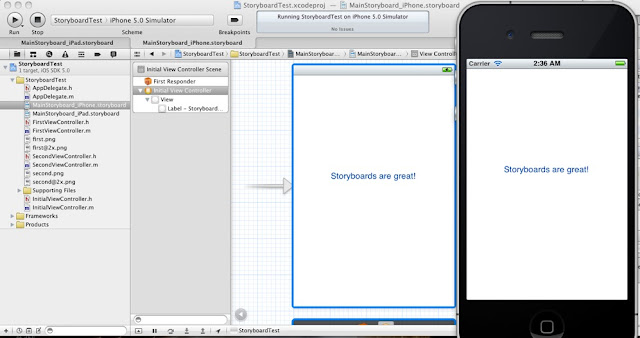
I'll just mark 'Use Storyboard'.
Well now we'll place two views that will make our gate like this (you can place two images to do it nice looking)

We have our gate, i confess it is very ugly but i'll let your bright skills as a designer to give this app an amazing UI.
Now we will place a label right in the middle with our application's name.

Now we have to be able to hide the label and move the gate, how can we do it? Linking this controls with IBOutlet.
We open our main view controller interface and write the following IBOutlet
Now we go to the storyboard and link them with double click on the control, press the circle next to "New Referencing Outlet" and drag to our View Controller Outlets
@interface ViewController : UIViewController {

 IBOutlet UILabel *applicationName;

 IBOutlet UIView *upperGate;

 IBOutlet UIView *lowerGate;
 }

Once we have all them linked we will create our timer and schedule it after 3 secs. We go to the .m View Controller file and we write this
- (void)viewDidLoad {
 [super viewDidLoad];

 // Do any additional setup after loading the view, typically from a nib.

 [NSTimer scheduledTimerWithTimeInterval:3 target:self selector:@selector(timerDidEnd) userInfo:nil repeats:FALSE];

}
As you've noticed we point to the selector timerDidEnd which we don't have, so we go to the .h again and write the declaration of that method
#import

@interface ViewController : UIViewController {

 IBOutlet UILabel *applicationName;

 IBOutlet UIView *upperGate;

 IBOutlet UIView *lowerGate;

}

-(void)timerDidEnd;

@end
Well, now we have to make our animation to hide the label and open the gate, we will create a method called animateGate that we will call when timerDidEnd is executed, don't forget to add it to .h file
-(void)timerDidEnd {

 [self animateGate];

}

-(void)animateGate {

 //We hide the label

 [applicationName setHidden:TRUE];

 [UIView beginAnimations:nil context:nil];

 [UIView setAnimationDuration:5];

 //Move the upper gate to the top

 upperGate.frame = CGRectMake(upperGate.frame.origin.x, upperGate.frame.origin.y - upperGate.frame.size.height, upperGate.frame.size.width, upperGate.frame.size.height);

 //Move the lower gate to the bottom

 lowerGate.frame = CGRectMake(lowerGate.frame.origin.x, lowerGate.frame.origin.y + lowerGate.frame.size.height, lowerGate.frame.size.width, lowerGate.frame.size.height);

 [UIView commitAnimations];

}
With this now we have our animation, to prepare the clock i suggest creating programmatically a view, we will create a new method called showClock and call it next to our animateGate method.
-(void)timerDidEnd {

 [self animateGate];

 [self showClock];

}

-(void)showClock {


 //We'll only obtain minute and second from current date

 NSDateFormatter *dateFormatter = [[[NSDateFormatter alloc] init] autorelease];

 [dateFormatter setDateFormat:@"HH:mm:ss"];

 NSDate *date = [NSDate date];

 UILabel *currentDate = [[[UILabel alloc] init] autorelease];

 //We set the current minute and second

 [currentDate setText:[dateFormatter stringFromDate:date]];


 //A few settings of the view, you can play with this


 [clock setBackgroundColor:[UIColor clearColor]];
 [currentDate setFont:[UIFont fontWithName:@"Arial" size:30]];

 currentDate.frame = CGRectMake(-100, 180, 200, 50);


 [UIView beginAnimations:nil context:nil];

 [UIView setAnimationDuration:3];

 currentDate.frame = CGRectMake(100, 180, 200, 50);

 [self.view addSubview:currentDate];

 [UIView commitAnimations];

}
Great! We have now our clock, but the time isn't updating... huh :(
Well we will need to add another timer to repeat every one second to change our clock in timerDidEnd method
-(void)timerDidEnd {

 [self animateGate];

 [self showClock];

 [NSTimer scheduledTimerWithTimeInterval:1 target:self selector:@selector(clockDidChange) userInfo:nil repeats:TRUE];

}
We create our method clockDidChange both in implementation and declaration... but we have a problem here, how do we access to our label?
We need to create an ivar of type UILabel and change our current implementation for this new iVar, so we go to the @interface and create the control
@interface ViewController : UIViewController {
 IBOutlet UILabel *applicationName;
 IBOutlet UIView *upperGate;
 IBOutlet UIView *lowerGate;
 UILabel *clock;
}
Now we go back to our method showClock and change currentDate for clock that is our new control
-(void)showClock {

 //We'll only obtain minute and second from current date
 NSDateFormatter *dateFormatter = [[[NSDateFormatter alloc] init] autorelease];
 [dateFormatter setDateFormat:@"HH:mm:ss"];

 NSDate *date = [NSDate date];

 clock = [[[UILabel alloc] init] autorelease];
 //We set the current minute and second
 [clock setText:[dateFormatter stringFromDate:date]];

 //A few settings of the view, you can play with this


 [clock setBackgroundColor:[UIColor clearColor]];
 [clock setFont:[UIFont fontWithName:@"Arial" size:30]];
 clock.frame = CGRectMake(-100, 180, 200, 50);

 [UIView beginAnimations:nil context:nil];
 [UIView setAnimationDuration:3];

 clock.frame = CGRectMake(100, 180, 200, 50);

 [self.view addSubview:clock];

 [UIView commitAnimations];
}
We have now the call when the clock changes, so we just need to modify the label to set the date again
-(void)clockDidChange {

 //We'll only obtain minute and second from current date

 NSDateFormatter *dateFormatter = [[[NSDateFormatter alloc] init] autorelease];

 [dateFormatter setDateFormat:@"HH:mm:ss"];

 //We set the current minute and second

 [clock setText:[dateFormatter stringFromDate:[NSDate date]]];

}
Yes! We have our clock! You can change the colors if you want like this
-(void)clockDidChange {
 //We'll only obtain minute and second from current date
 NSDateFormatter *dateFormatter = [[[NSDateFormatter alloc] init] autorelease];
 [dateFormatter setDateFormat:@"HH:mm:ss"];

 //We set the current minute and second
 [clock setText:[dateFormatter stringFromDate:[NSDate date]]];
 CGFloat red = (CGFloat)random()/(CGFloat)RAND_MAX;
 CGFloat green = (CGFloat)random()/(CGFloat)RAND_MAX;
 CGFloat blue = (CGFloat)random()/(CGFloat)RAND_MAX;

 [clock setTextColor:[UIColor colorWithRed:green green:red blue:blue alpha:1.0f]];
 [self.view setBackgroundColor:[UIColor colorWithRed:red green:green blue:blue alpha:1.0f]];
}

If you tried and couldn't do this app... no problem! You can download the full code from here
http://minilink.es/6s1


